Getting started with ST NUCLEO-WBA55
This page objective is to guide you step by step on how to create your first Zephyr application on the ST NUCLEO-WBA55CG board.
The NUCLEO-WBA55CG is a Bluetooth® Low Energy wireless and ultra-low-power board embedding a powerful and ultra-low-power radio compliant. The board includes an ST-LINK/V3 embedded debug tool interface. It could be used for flash and debug using OpenOCD.
- Vendor: ST Microelectronics
- Architecture: arm
- SoC: stm32wba55
Compatible runner:
- OpenOCD
Installation
Please follow the Installation guide.
Import a SDK
Import a minimal SDK for ARM target.
- Click on "Import SDK" or "Add Zephyr SDK" button
- Open the newly opened page, enter information about your Zephyr SDK.
- For example:
- Source location: Official SDK
- SDK Type: Minimal
- Version: v0.17.0
- Toolchains: arm
- Location: enter the parent location where to import the Zephyr SDK (eg.
path/to/sdk/arm-zephyr-sdk-0.17.0)
- For example:
- Click on "Import"
After the SDK is download and installed, it is listed in the ZEPHYR SDK view.
Import STM32 minimal west workspace
Import a minimal west workspace for NXP.
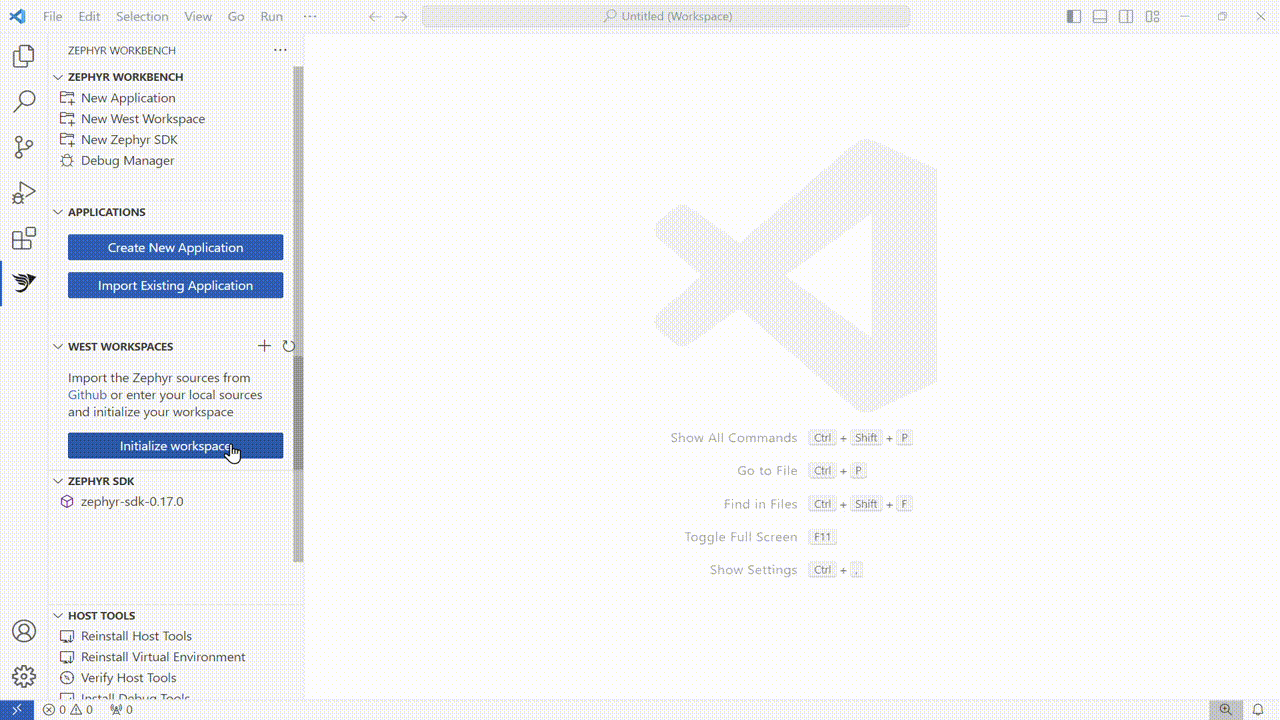
- Click on "Initialize workspace" or "New West Workspace" button
- Open the newly opened page, enter information about your west workspace instance.
- For example:
- Source location: Minimal from template
- Path: https://github.com/zephyrproject
- Template: STM32
- Branch: v4.0.0
- Location: enter the directory where the west workspace will be imported
(the directory name will serve as workspace name, eg.
path/to/workspace/stm32-zephyr-v4.0.0). (it takes several minutes to init then update the workspace)
- For example:
- Click on "Import"
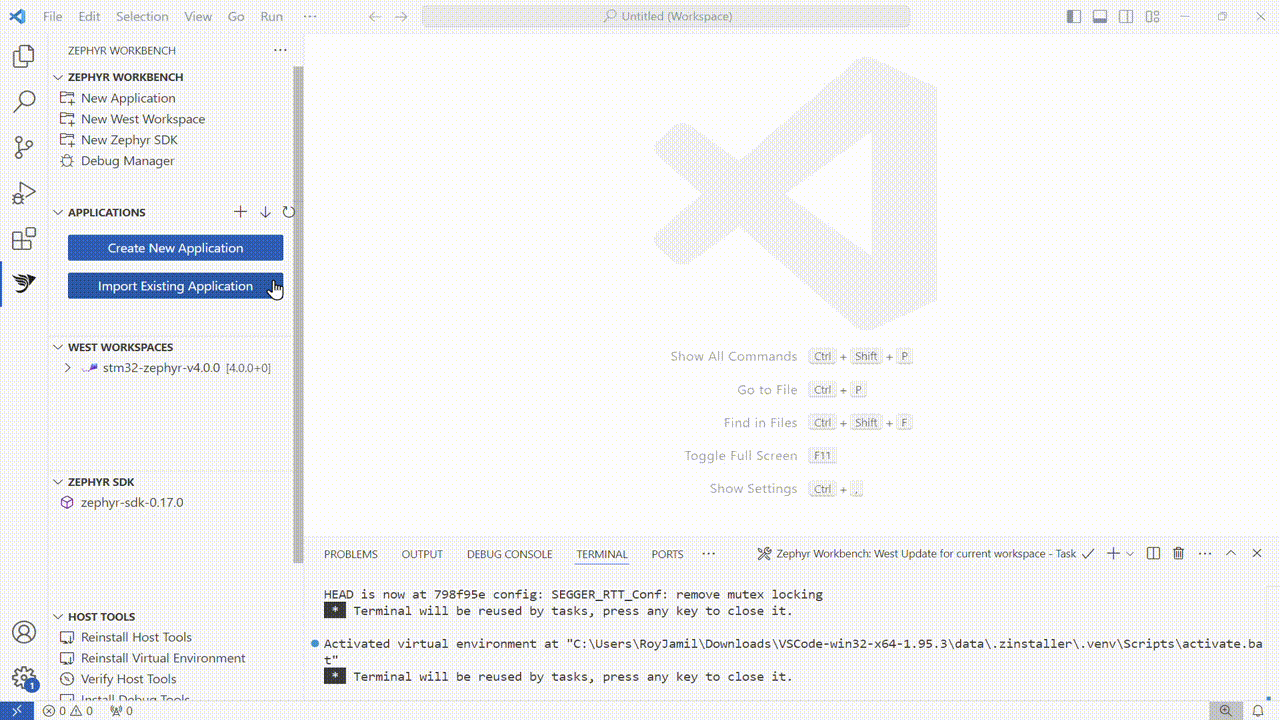
After the Workspace is download and installed, it is listed in the WEST WORKSPACES view.
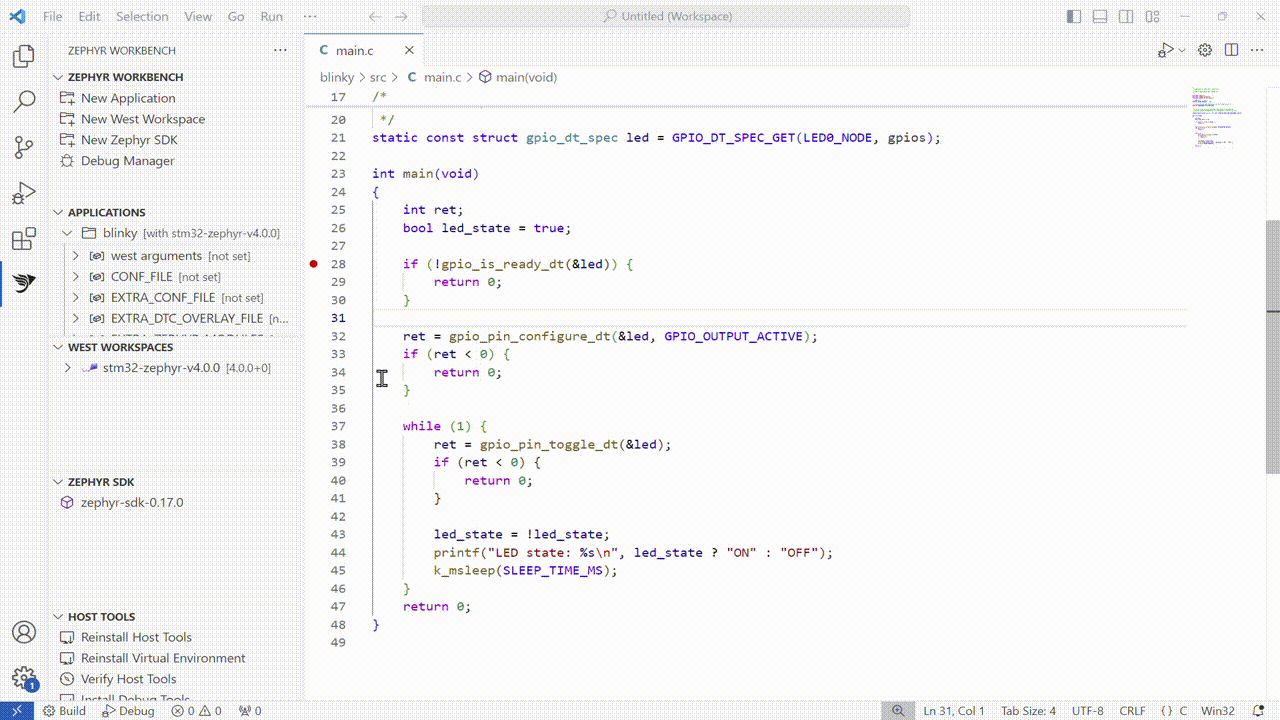
Create a new blinky project
The environment set up complete. We are now going to create a blinky project for the Arduino Uno R4 WiFi board.
- Click on "Create New Application"
- Select the West Workspace previously init
- Select the Zephyr SDK previously imported
- Select
ST Nucleo WBA55CGas the target Board - Select
blinkyas Sample project - Enter a project name or keep
blinkyas value - Enter the project location
- Select the Pristine Build option (More information on Pristine Builds)
- Click on "Create"
When the project creation is done, it appears on the APPLICATIONS view.
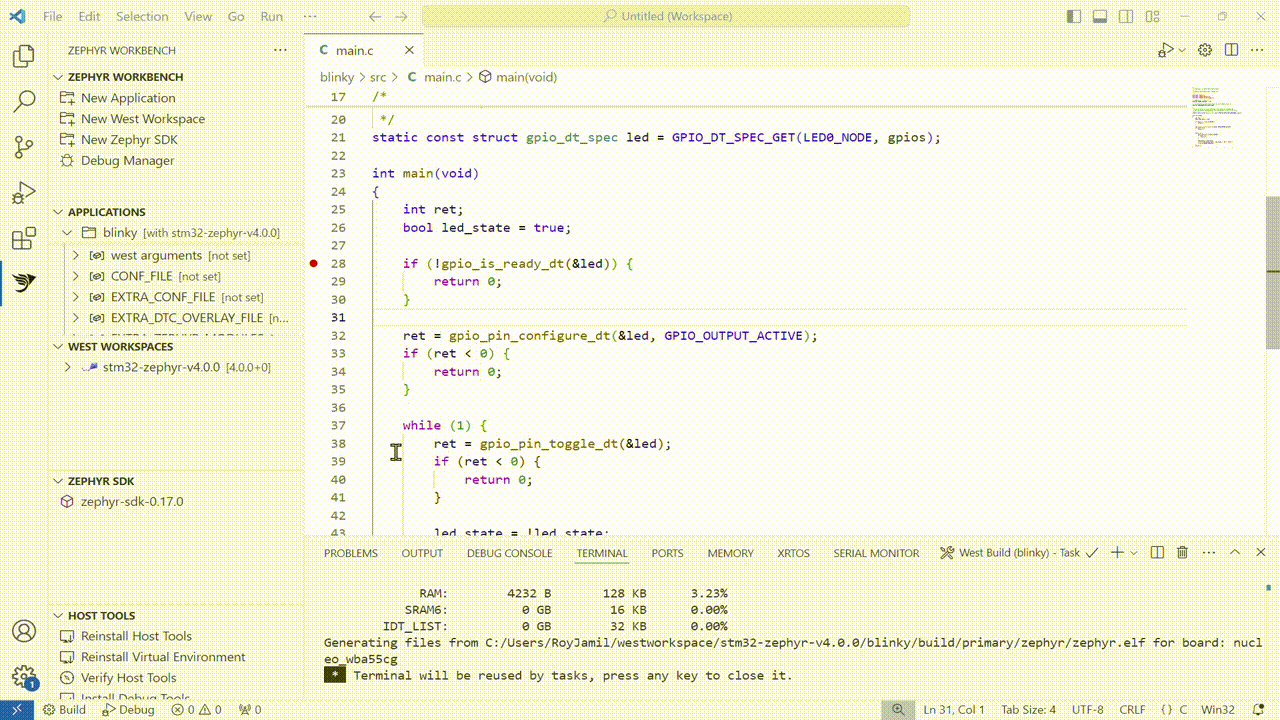
To build the project, right-click on it, then select "Build". The build output is displayed in the Terminal.
Flash and Debug project
ST Nucleo WBA55CG has a built-in ST-Link/V3 debug adapter that you can use for flashing and debugging. It is compatible the following runners:
- OpenOCD
OpenOCD is provided with Zephyr Workbench, but not installed by default. Go to the Install Debug Tools page to install the STM32 Debug Pack, it provides you OpenOCD and the drivers/tools to support STM32 target debug.
Connect your machine with the ST Nucleo WBA55CG on the USB-C connector.
- Open the "Debug Manager"
- Select the
blinkyapplication (The page takes several second to auto-complete). The build configuration should beprimary. - Select
openocdas runner ("Runner executable found" should be displayed if the probe software is installed on your system) - If the runner is not found, enter the path to it executable.
- Click on "Apply" to save the debug configuration.
- Click on "Debug" to start the debug session.
On older version of west workspace, the support of the debug with OpenOCD might not work as the target might not start after flashing process.
As workaround, this solution is to edit the [PATH_TO_WEST_WORKSPACE]/boards/st/nucleo_wba55cg/support/openocd.cfg and replace the line reset_config srst_only srst_nogate with reset_config srst_nogate.